
You can install most recycled rubber flooring without a subfloor, such as wood, tiles, and concrete. However, for brittle ceramic tiles, you’ll need an underlayment of plywood or other stable material. Otherwise, the tile can crack and cause the rubber flooring to shift. We strongly advise removing carpet prior to installing your new slip-resistant Dinoflex rubber flooring.
How to Prep the Subfloor
Typically, you can install recycled rubber flooring over hard floors without removing the existing material. Consider the following when making the decision whether or not to remove tiles and wood flooring already in your building:
- Condition of the existing material
- Thickness of your recycled rubber flooring
- Height difference after installation
- Whether the subfloor is level
It’s best practice to install the subfloor if the current one has low spots or shows signs of severe damage. Use self-leveling concrete to create an even surface for your recycled rubber flooring. If you can use the existing subfloor, that will save a lot of time and money during the installation process. However, remove any remaining mortar or adhesive from the concrete and pull out all the staples, fasteners, nails, and any other materials that could damage the rubber tiles or cause them to lay unevenly.
Once you vacuum and mop the subfloor, it’s time to install your rubber flooring tiles.
How to Install the Recycled Rubber Flooring
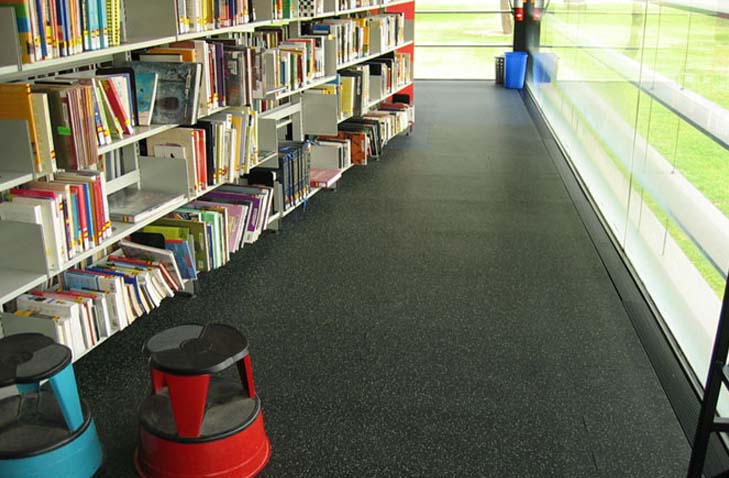
Here are a few installation tips for installing Dinoflex recycled rubber flooring in your school, office, hallway, or cafeteria:
- Clients often place recycled rubber tiles over existing flooring materials such as concrete, ceramic tiles, and hardwood. However, we don’t recommend installing recycled rubber flooring over carpet.
- Place protective paper over hardwood floors before you install our durable recycled rubber flooring. This will protect the quality of your original floors.
- You can glue Dinoflex rubber floors using CX941 urethane, a structural adhesive, for straight-edge tiles.
- Interlocking tiles are even easier to install by laying them loose and interlocking the pieces.
- For interlocking tiles, we recommend maintaining an even temperature throughout the installation process to avoid seam shrinkage until your new rubber flooring settles into place. Note that, if the substrate falls below 55 degrees Fahrenheit, recycled rubber flooring may temporarily gap at the seams and then return to shape within 24 hours.
- When installed outside, we recommend interlocking pieces for easy installation. You’ll need a flat subsurface with appropriate drainage.
There are some YouTube videos on how to install Dinoflex rubber flooring and you can also contact us at any time for instructions on your specific project.
Do You Have the Right Style and Color for Your Project?
We believe in making it easy to find, buy, and install the right Dinoflex recycled rubber flooring for your business, organization, or facility. Use our simple tools, such as the Color Innovator to create custom colors and styles.
Ready to install Dinoflex rubber flooring in your building? Call us at 877-713-1899 for assistance. Fill out our online form for a customized quote for your project.